
August 5, 2026
Airbnb Photography Tips: How to Shoot Listing Photos That Book
By Shaun Ghavami
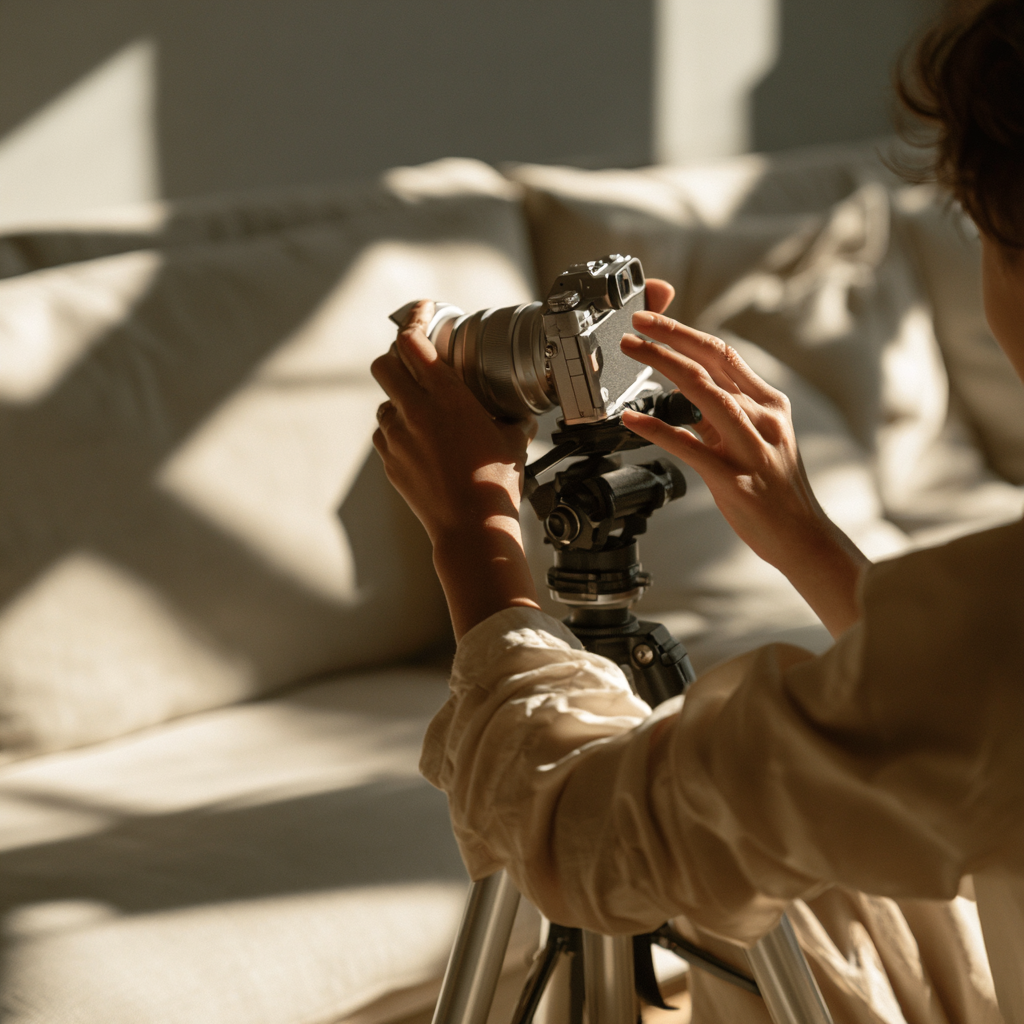
The fastest way to get more bookings from your Airbnb photos is to lead with one bright, horizontal cover shot of your best room, load the next four images with your strongest spaces, shoot everything in natural light with no flash, stage each room before you press the shutter, and keep your editing honest so the photos match what a guest actually walks into. Do that and your listing earns the click, then keeps the five-star review after check-in.
I have hosted more than 3,000 guests and managed a portfolio worth over $100 million for other owners, and photos are the cheapest lever I know for more bookings. You do not need a $2,000 camera. My first listing was a $65-a-night spare bedroom shot on a phone next to a window. What moved the needle was order, light, and honesty, not gear.
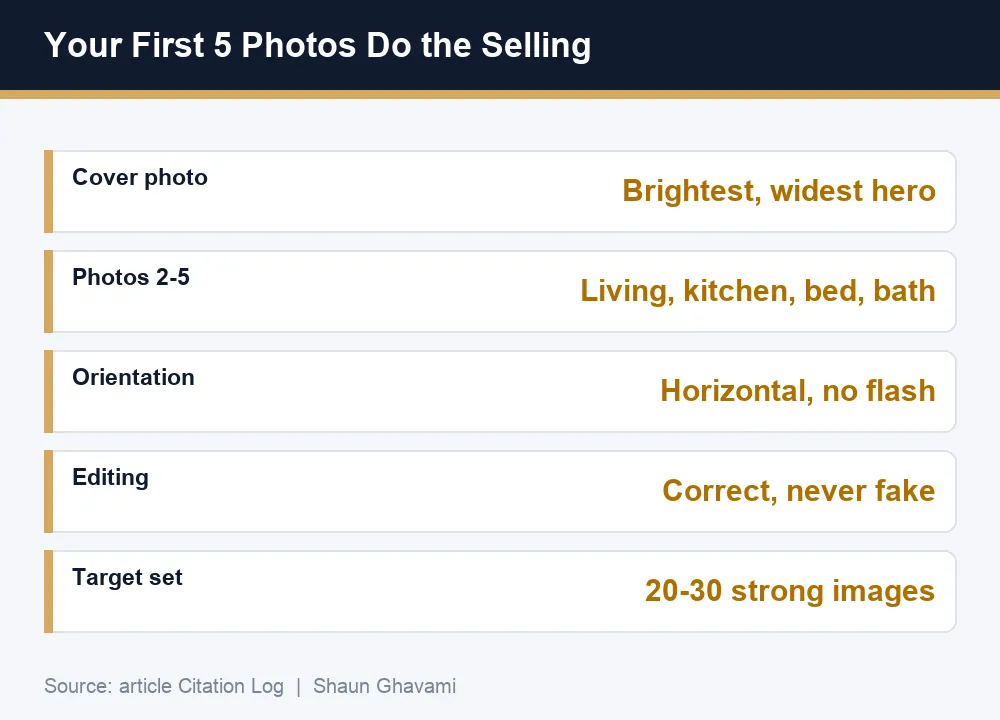
Your first five photos decide the click
The cover photo is the only image a guest sees in search results, and the listing header shows roughly the first five images before anyone taps to see the rest. Those slots do almost all of the selling, so treat them like the front window of a shop.
Lead with your single most impressive space. Bright, wide, and level. If the living room is the star, that is your cover. If the pull is a view, a pool, or a hot tub, lead with that instead. Airbnb's own guide recommends choosing a strong cover photo and putting your best images first, and I have never seen a reason to argue with it. See Airbnb's guide to taking great listing photos.
Order the next four to tell a fast story: the hero space, the kitchen, the bed the guest will sleep in, and the bathroom or the standout feature. Do not bury your best shot at slot 20. Most guests make up their mind in the first few frames, so front-load the ones that sell.
Light, angle, and framing: shoot wide, horizontal, no flash
Natural light does most of the work. Shoot during the day, open every curtain and blind, switch on every lamp, and wait for a bright hour that is not harsh. An overcast day is a gift because the light lands even and soft with no blown-out windows.
Kill the flash. On-camera flash flattens a room, throws hard shadows across the walls, and turns warm spaces cold. It is the single fastest way to make a nice room look like a budget motel.
Shoot horizontal, not vertical. The Airbnb gallery is built for wide, horizontal images, and portrait phone shots get cropped in ways you cannot control. Hold the phone sideways every time.
Go wide, but do not distort. Stand in a corner, shoot from about chest height, and keep the camera level so the vertical lines in the room stay straight. A slightly wide lens helps a small room read bigger. A fisheye look that bends the walls reads as a trick, and the guest feels it the second they arrive. AirDNA's photography guide lands on the same rule: clean, well-lit, uncluttered frames convert better than busy ones. See AirDNA's Airbnb photography tips.
Stage and declutter every room before you shoot
The shoot starts with cleaning, not the camera. Every crumb, cord, and stray sponge shows up at full resolution, so give the place a real deep clean first.
Then declutter hard. Clear the countertops, hide the trash can, coil or tuck away cords, remove personal items, close the toilet lids, and take down anything you would not want a stranger studying up close.
Make the bed like a hotel would. Crisp white linens photograph cleaner than busy patterns and read as fresh. Add a couple of pillows and a folded throw, and pull the sheets tight.
A few honest props help a frame feel lived-in: rolled towels in the bath, a bowl of fruit or a coffee setup in the kitchen, a plant or two. Keep it real. If the plant will not be there when guests arrive, leave it out of the photo.
If a room still photographs flat after all that, the problem is usually the room, not the camera. That is a cue to furnish the space better or borrow a few interior design ideas before you shoot again.
I break down the exact process my team uses to run Airbnb income for owners who do not own the property. Get the free Airbnb co-hosting training.
Phone or camera, resolution, and the honest-editing line you do not cross
A recent phone in good light beats a nice camera in the wrong hands. If you own a mirrorless or DSLR and know how to use it, use it. If not, a modern phone on a small tripod is plenty for a listing that books.
Shoot at your device's highest quality setting, horizontal, every time. Any current phone clears Airbnb's quality floor with room to spare, so the real killer is not megapixels. It is soft, dark, or shrunken files. Do not screenshot your photos, do not text them to yourself because messaging apps compress them, and do not upload straight out of a heavy filter app.
Editing is where hosts either build trust or torch it. Correct the exposure, straighten the horizon, gently lift the shadows, and fix the color so white reads white. Stop there. Do not stretch a room wider than it is, erase a busy road out the window, paint in a view, or crop out the neighbor's wall two feet away.
Here is why honesty pays in dollars. Your photos set the guest's expectation, and the gap between the photo and the real space is exactly what a low accuracy rating measures. Superhost status requires a 4.8 or higher overall rating, so a run of "not as pictured" reviews can quietly lock you out of it. Oversell the space and you win the click but lose the review, which costs you far more future bookings than that one photo ever earned. Honest photos are step one toward 5-star reviews. Turno's guide makes the same case: photos have to convert, but they also have to match reality. See Turno's guide to Airbnb listing photos.
The room-by-room shot list I hand every owner
Shoot in this order so the money shots are done first, then fill in the rest. Aim for 20 to 30 strong images for a standard place, more for larger homes, and add a short caption to any photo that needs context.
| Room | Must-get shots | Why it matters |
|---|---|---|
| Exterior / entrance | Front of the home or building entry, plus any outdoor space | Sets the arrival expectation |
| Living room | One wide hero, one detail shot of the seating | Often your cover photo |
| Kitchen | Wide shot with counters clear, one detail like a coffee setup | Guests scan for how usable it is |
| Primary bedroom | Wide from the doorway, bed made, one nightstand detail | The bed is what they are buying |
| Extra bedrooms | One clean wide shot of each | Show every sleeping spot you advertise |
| Bathrooms | Wide with the lid down, fresh towels, one vanity detail | A clean bath builds trust fast |
| Special features | View, pool, hot tub, workspace, standout amenities | These are your differentiators |
| Whole-home context | A hallway or floor-plan style shot | Helps guests picture the layout |
Where the photos fit in a listing that books
Photos earn the click. The title, the description, the price, and the reviews close it. So treat the shoot as one part of a full listing pass rather than the whole job, and pair it with a strong listing description. If you want the wider playbook, start with how to optimize your Airbnb listing end to end.
Refresh your set on a schedule. Swap in a snowy exterior in winter and a green yard in summer, and reshoot after any renovation or furniture change. Fresh, accurate photos also signal an active, well-run listing.
Running places from another city does not change the rules, it just changes who holds the camera. Build the shot list into your turnover so a cleaner or co-host can reshoot the moment something looks different. Photography is one small piece of learning how to start an Airbnb business that actually earns.
This is the model I used to grow from a spare bedroom to a nine-figure managed portfolio. Get the free Airbnb training.
Frequently asked questions
Aim for 20 to 30 strong, well-lit images that cover every room and feature you advertise, and add more for larger homes. The first five carry most of the weight, so lead with your best. Gaps in coverage make guests suspicious, and blurry filler photos hurt more than they help.
Your brightest, widest, most level shot of your best room or feature, taken horizontally in natural light. It is the only image most guests see in search results, so it decides whether they click at all. Lead with the space that sets your place apart from the listings nearby.
Yes. A recent phone in good natural light, held level on a small tripod, produces photos that book. Shoot horizontally at the highest quality setting, avoid flash, and do not compress the files by texting or screenshotting them before you upload.
If your budget allows and the space is a strong performer, a pro can be worth it. But a clean, staged, well-lit phone shoot beats a rushed pro shoot, so start there and upgrade later once the listing is proven.
Correct the exposure, straighten the lines, and fix color so white reads white. Do not widen rooms, erase the surroundings, or add features that are not there. The photo sets the guest's expectation, and the gap between the image and the real space is what drives low accuracy ratings and refund requests.
Reshoot after any renovation, furniture change, or upgrade, and refresh seasonally so the exterior matches what a guest sees on arrival. Fresh, accurate photos also signal an active, well-run listing to both guests and the search algorithm.
.png)
Be Part of our Community.
Let’s transform properties into powerhouses.
